How to customize a GitHub Profile?
 |
| Image by Author |
How to make this?
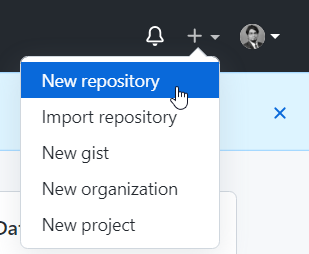
Create a repository.
 |
| Image by Author |
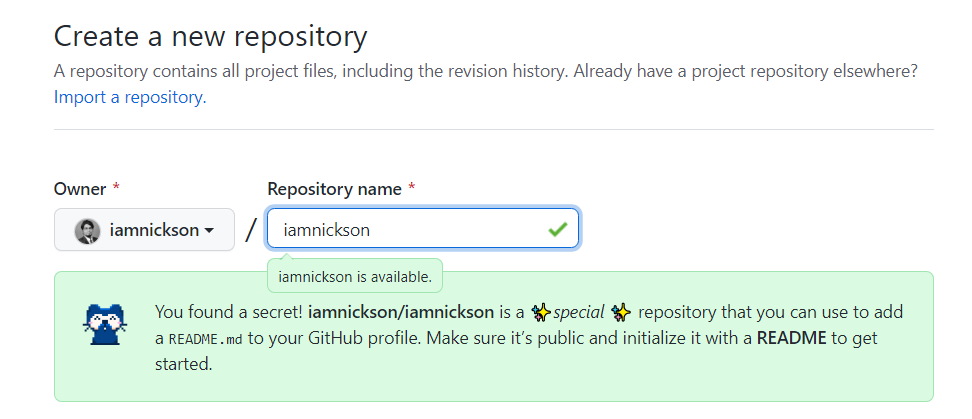
The name has to be the same as your profile name.
 |
| Image by Author |
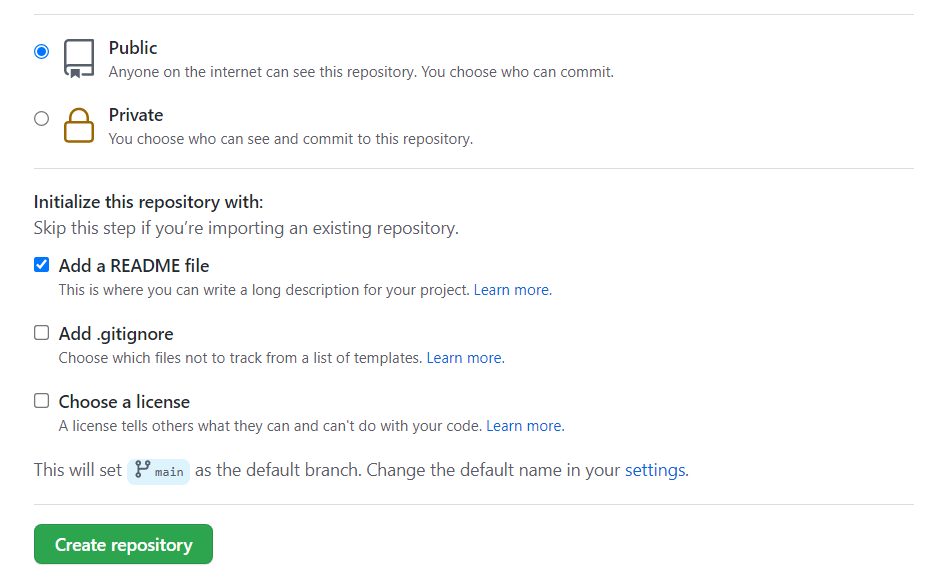
Make it a public one and select the checkbox to add a README file.
 |
| Image by Author |
Click Edit README
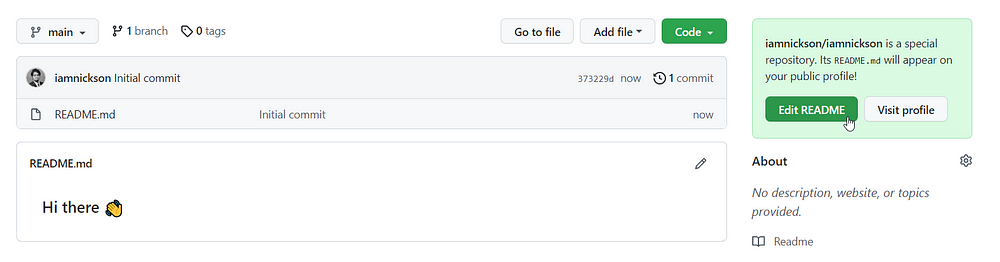 |
| Image by Author |
You’ll see the following.
 |
| Image by Author |
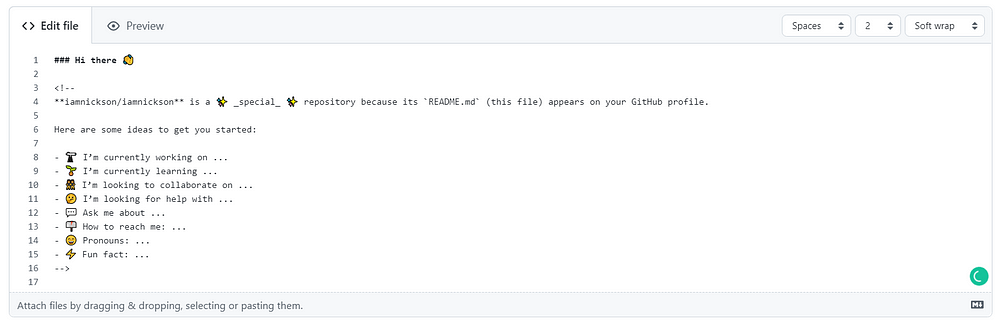
The file we are working on supports GitHub’s markdown. By selecting the Preview, you can see what is the output that the codes you made do there.

Remove the comments and see what happens.
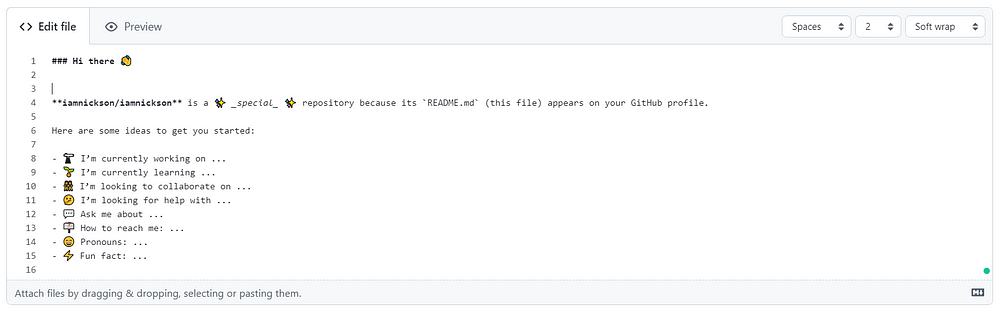 |
| Image by Author |
The output is
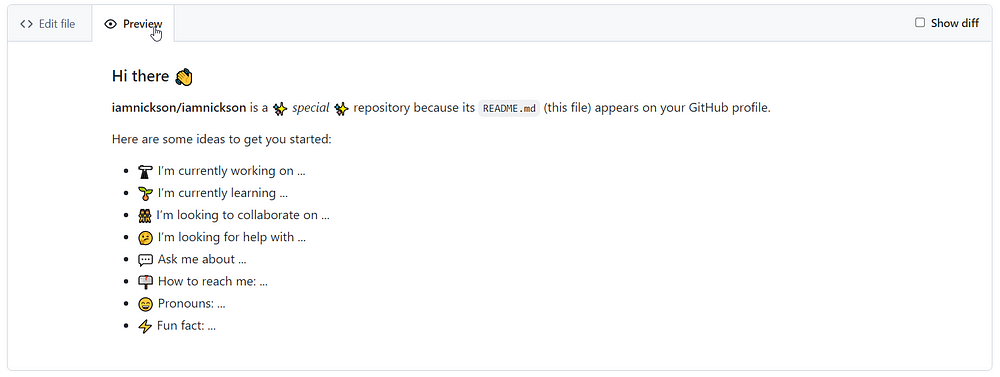 |
| Image by Author |
There are a lot of tools that help to create templates for this. Or else, you can refer to the documentation to do more cute things.
You can fork my README file and can edit as you want to customize your own profile. Don’t forget to share some stars.
You can edit the codes and can create a much more magnificent way of showing yourself.
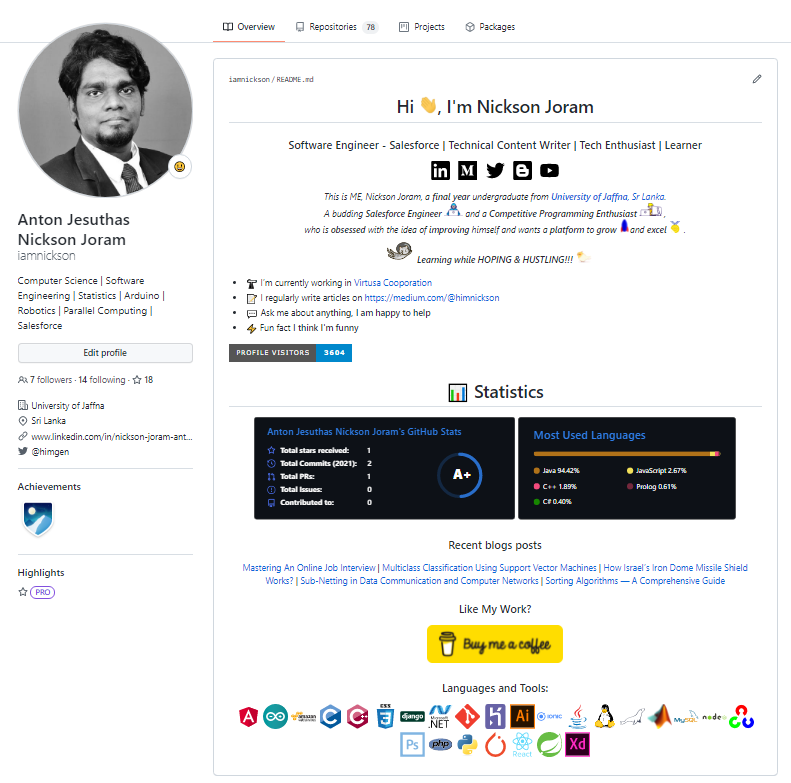
A GitHub profile README is a requirement, whether you’re making fun and animated version for your fellow devs to view or using it as a pseudo-resume for recruiters to look at. It gives visitors a better idea of your talents, hobbies, and, most importantly, who you are.
Start now, if you haven’t already, and make your own!
Hope this helps. Share your thoughts too.
Comments
Post a Comment